The night fog rolls in thick and fast off Keelung Harbor, blurring the lines between the sea and the sky. An oncoming car crests a slight rise, its headlights hitting you like a physical force—a blinding, blue-white glare that momentarily erases the road ahead. It’s a terrifying split second that every driver in Taiwan has experienced. This is precisely why a proper headlamp beam adjustment isn’t just a task on a maintenance checklist; it’s a fundamental responsibility for anyone who gets behind the wheel.
As a former vehicle inspection officer, I’ve seen it all. I’ve seen brand new cars fail because of poorly aimed lights and old beaters pass with flying colors because the owner took ten minutes to get it right. Here at CarTech, we want to empower you with that same knowledge. This guide will walk you through the process, step-by-step, so you can achieve a perfect, safe beam pattern that cuts through the dark without dazzling others and helps you pass your vehicle inspection on the very first try.
Why Proper Beam Adjustment Is Non-Negotiable
Let’s be clear: this is about more than just avoiding a ticket. Misaligned headlights are a serious safety hazard.
- If they’re aimed too low, your visibility is drastically reduced. You won’t see a pedestrian, a stray dog, or a pothole until it’s too late. Your effective stopping distance becomes dangerously short.
- If they’re aimed too high, you create dangerous glare for oncoming drivers, temporarily blinding them. Studies have shown that properly aimed headlights can reduce nighttime accidents involving pedestrians by a significant margin.
In Taiwan, incorrect headlight aim is one of the top reasons for failing the annual inspection, leading to re-test fees and wasted time. Getting it right saves you money, time, and could even save a life.
Your Tools & Prep Checklist
You don’t need a high-tech workshop to do this, but you do need the proper setup. Precision is key.
- A flat, vertical wall (such as a garage door or building side) is perfect.
- At least 10 meters of level ground in front of the wall.
- Measuring Tape: To measure distances and heights accurately.
- Masking Tape: To mark your guidelines on the wall.
- A Bubble Level: To ensure your reference lines are perfectly horizontal.
- The Right Tool: A Phillips screwdriver, a hex driver (often 7mm), or a Torx driver, depending on your vehicle’s adjuster screws.
- For Pro Results: A dedicated headlight alignment board (調整板) from CarTech.tw can make the process faster and more precise.
Before you start, prepare your vehicle. Ensure your tire pressures are correct, the fuel tank is at least half full, and have someone of average driver weight sit in the driver’s seat. This mimics real-world driving conditions.
Understanding Beam Anatomy: The Art of the Cut-Off
To adjust a beam, you must first understand its shape. The most important feature of your low beam is the beam cut-off (切線). This is the sharp line at the top of the pattern that separates the light from the dark.
For Left-Hand Drive (LHD) vehicles like we have in Taiwan, the cut-off line has a specific shape:
- It’s flat on the left side. This prevents your light from shining into the eyes of oncoming drivers.
- It has a 15-degree “kick-up” to the right. This upsweep illuminates the right side of the road, lighting up road signs and the shoulder where pedestrians or cyclists might be.
This precise 車燈 光型 調整 (chē dēng guāng xíng tiáo zhěng – car light beam pattern adjustment) is critical. Using a right-hand drive beam assembly from a country like Japan or the UK would be incredibly dangerous here, as the kick-up would be on the left, directly blinding oncoming traffic.
The Definitive DIY Headlamp Beam Adjustment Procedure
Follow these steps meticulously for a perfect result.
- Position Your Vehicle: Park on your level ground, with the front of your headlights exactly 7.6 meters (that’s 25 feet) from your flat wall. Make sure the car is parked perfectly perpendicular to the wall.
- Settle the Suspension: Gently push down on each corner of the car a few times and let it settle for 30 seconds. This ensures the vehicle is at its proper, natural ride height.
- Find Your Centerlines:
- Measure the distance from the ground to the exact center of each headlight lens. They should be the same height.
- Use masking tape to create two vertical lines on the wall, marking the center point of each headlight.
- Mark the Horizontal Line: Using your bubble level, run a horizontal strip of masking tape on the wall that connects your two vertical lines at the exact height you measured in the previous step. This is your “Headlight Centerline.”
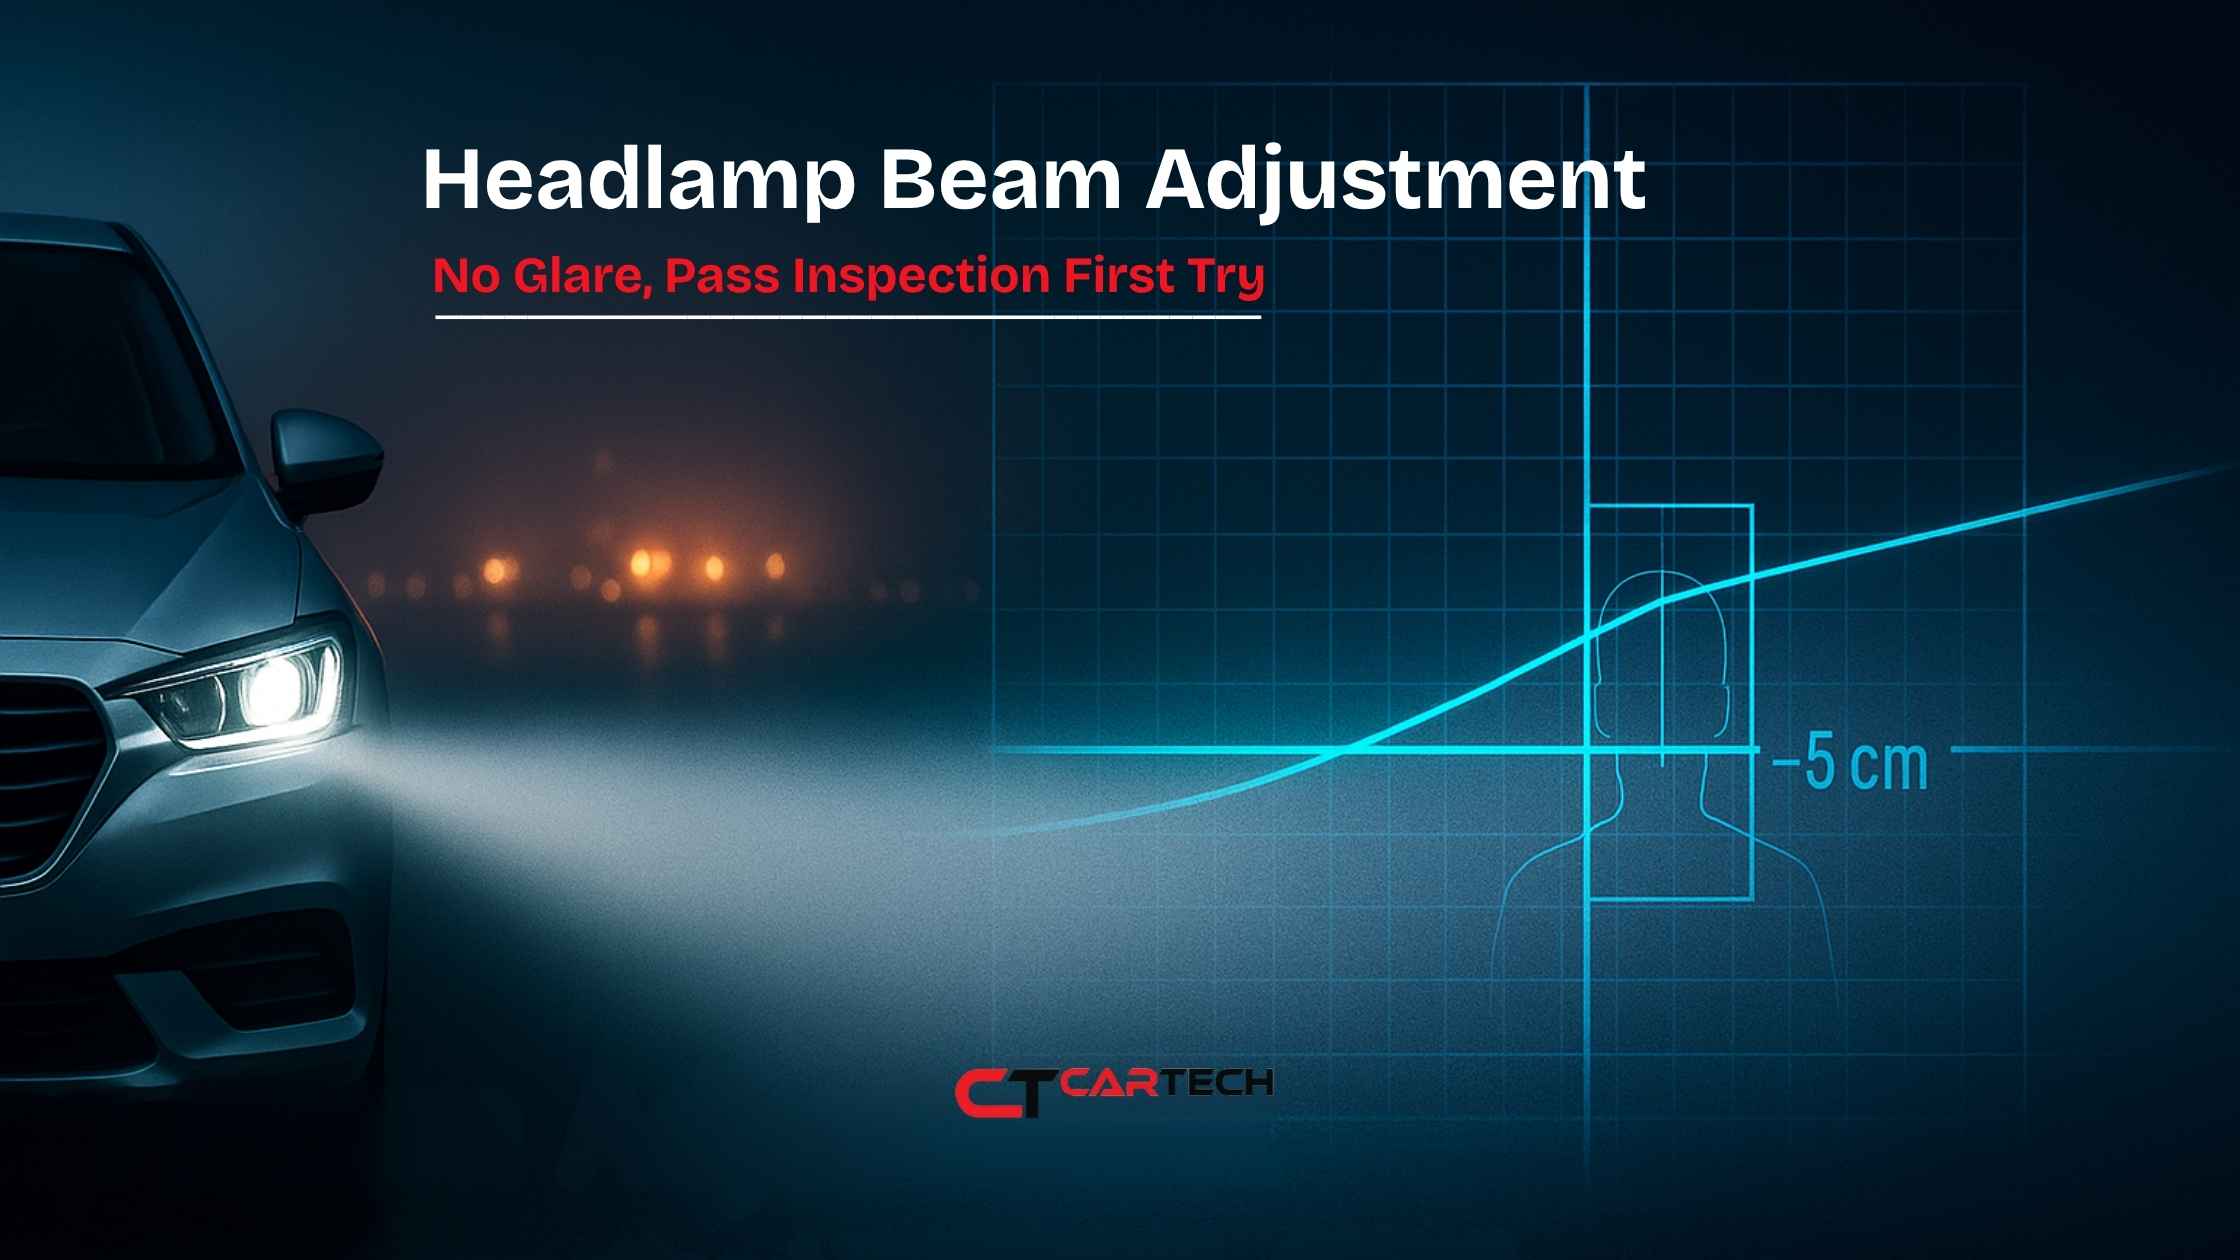
- Create the Target Line: This is the most crucial step. Measure 5 cm (about 2 inches) down from the Headlight Centerline and run another horizontal strip of tape. This lower line is your target for the beam’s cut-off.
- Adjust One Light at a Time: Cover one headlight with a thick towel or piece of cardboard. Turn on your low beams. The beam from the uncovered headlight should now be projected onto the wall.
Fine-Tuning with the Headlight Leveling Screw
Now for the adjustment itself. On the back of the headlamp assembly, you’ll find the adjuster screws. There are usually two: one for vertical (up/down) aim and one for horizontal (left/right) aim.
- Using the correct tool, turn the vertical headlight leveling screw in small, quarter-turn increments. Feel the subtle click each detent offers—this helps you keep track of your adjustments.
- Your goal is to align the flat part of the beam’s cut-off perfectly with the lower horizontal tape line on the wall.
- The “kick-up” to the right should begin right at the vertical tape line that marks the headlight’s center.
- Once the first light is perfect, cover it and repeat the same process for the other headlight.
Common Mistakes and Instant Fixes
- Sloppy Beam Pattern: If your cut-off line is blurry or indistinct, your bulb is likely not seated correctly in the housing. This is a prevalent issue after installing aftermarket LED bulbs without care. The solution is to remove the bulb and reinstall it, ensuring it locks into place perfectly. Poorly designed LEDs can also have this issue due to bad chip placement, which is why a quality assembly with good LED headlight heat dissipation is crucial.
- Suspension Changes: If you’ve installed a lift kit, lowering springs, or even just carry heavy loads frequently, you MUST perform a headlamp beam adjustment. Changing the vehicle’s rake angle by even a couple of degrees can throw your aim off dramatically.
- Forcing the Screw: The adjuster mechanisms are often made of plastic. If a screw feels seized, don’t force it. A small spray of lubricating fluid might help, but if it’s broken, the entire assembly may need replacement.
Quick-Reference Aiming Drop Table
While 5 cm is a great general rule, different vehicle types have slightly different ideal drops.
| Vehicle Type | Recommended Drop at 7.6m | Inspector Tolerance |
| Sedan / Hatchback | 5.0 cm | ± 1.0 cm |
| SUV / Crossover | 6.0 cm | ± 1.0 cm |
| Light Truck / Van | 7.0 cm | ± 1.0 cm |
The Post-Adjustment Road Test
The wall gives you the data, but the road gives you the proof. Take a drive on a quiet, dark road.
- The cut-off should be visible and crisp, painting a precise ribbon of light across the road.
- It should feel like you have excellent visibility for at least 60-80 meters ahead of you.
- When a car approaches, your lights should not be hitting their windshield or side mirrors. This is the ultimate test to avoid headlight glare.
Your Headlamp Inspection Checklist for Success
On the day of your inspection, a little prep goes a long way.
- Wipe your headlight lenses clean. A dirty lens can diffuse the beam and cause a failure.
- Confirm all lights work—low beam, high beam, indicators, and parkers.
- If you have a manual leveling dial inside your car (often numbered 0-3), make sure it is set to “0” for an unloaded vehicle.
- Arrive with confidence, knowing you’ve done the job right.
Conclusion
Back in Keelung, a car with perfectly aimed headlights approaches. Its beam slices cleanly through the fog below your line of sight, illuminating the road for the driver without ever compromising your vision. A moment later, it’s gone, and you continue on your way safely. This is the standard we should all aim for. By mastering a proper headlamp beam adjustment, you’re not just preparing to pass an inspection. You’re becoming a safer, more courteous, and more responsible member of Taiwan’s driving community.
Do you need the right tools for the job? Order our professional headlight alignment boards and bubble levels today. Or, if your assemblies are old and faded, explore our range of OEM-spec replacements like the brilliant LED Headlamp Assembly for the Vios 2018.
Because the right light guides you—and everyone else—home.
FAQs: Headlamp Beam Adjustment
1. How far from the wall should I park my car for alignment?
The industry standard is 7.6 meters, or 25 feet. Parking closer or farther away will change the geometry and result in an incorrect aim. Consistency is key.
2. Do LED retrofit bulbs change the headlight aim?
They shouldn’t change the aim if they are well-designed and installed correctly, but you should ALWAYS check your alignment after swapping bulb types. The physical position of the light-emitting source on the bulb is critical, and even a millimeter of difference can alter the beam pattern.
3. What if my adjuster screw is seized or just keeps spinning?
If a screw is seized, try a penetrating lubricant. If it spins freely without changing the aim, the internal mechanism is likely stripped or broken. Unfortunately, this usually requires replacing the entire headlamp assembly.
4. Does putting heavy cargo in my trunk alter the beam height?
Yes, absolutely. Heavy cargo in the trunk will squat the rear suspension and raise the front, causing your headlights to aim higher and create glare. This is why many modern cars have an auto-leveling system or a manual adjustment dial on the dashboard to compensate when carrying loads.
Key Takeaways
- Safety: Proper aim is your first line of defense in nighttime driving, allowing you to see hazards without blinding other drivers.
- Compliance: A precise headlamp beam adjustment is one of the easiest ways to ensure you pass Taiwan’s annual vehicle inspection on the first try.
- Coming up to your lights correctly is a fundamental act of respect for every other driver sharing the road with you.
- Precision: Use the 7.6-meter distance, a level surface, and the 5 cm drop method for accurate, repeatable results every time.